This is probably the most difficult thing to replace on the Smokin Brothers Grill. These instructions will tell you how to replace the auger motor and auger in the Smokin Brothers Grill.
Unplug the grill before doing any repairs or maintenance on the grill.
Traditional Model
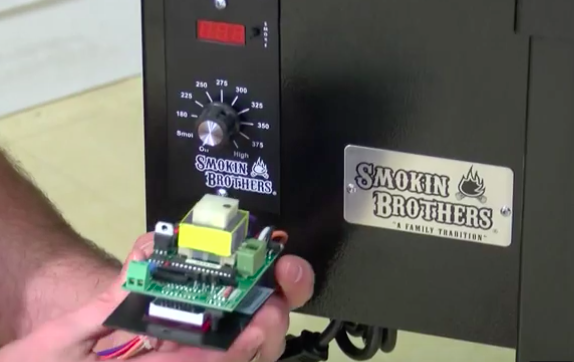
1 – Remove the two screws from the controller located on the front of the grill.
2 – Pull the controller panel forward.
3 – Take a small screwdriver and undo the wires to the RTD sensor.
4 – Unplug the wires-the purple and white wire, the orange and white wire and the black and white wire.
5 – Remove the controller completely.
The controller needs to be removed to prevent damage to the controller when the hopper is removed.
6 – Remove the 4 screws on the hopper.
7 – Remove any excess pellets from the hopper.
8 – Remove the hopper.
Premier Model
1 – The hopper is welded to the grill in the Premier model.
2 – Loosen the 4 screws on the front of the grill so they are hand tight.
3 – Undo the control panel the same way as in the traditional model.
4 – When removing the last screw from the front panel, do slowly while holding onto the panel.
5 – Unplug all the wires while resting the front panel on your lap.
6 – Take the terminal block off the same way as in the traditional model.
7 – Set the panel aside.
8 – The auger assembly is in front view after the panel is removed. It looks the same as the traditional model except the hopper isn’t there.
9 – Remove all the pellets from the hopper.
10 – Make sure all the wires are free from each other so when the assembly is pulled out, the wires aren’t in the way.
11 – There are two 7/16 bolts that hold the hopper assembly.
12 – The auger motor has a rod and the auger pin, which is a 5/16 bolt with an Allen head through it that once it’s removed, the whole auger system is visible.
13 – To have a good angle to work from, there are two 7/16 bolts that need to be removed.
14 – Take 7/16 motor socket to remove bolts and pull the auger assembly completely out of the grill.
Pellets will fall out that were in the void all the way to the fire pot.
15 – Take a wrench and an Allen head to remove the 5/16 nut that holds the auger to the auger plate and to the motor mount.
16 – Replace the auger. Reattach the auger to the auger plate and to the motor mount with the 5/16 nut.
Make sure to tighten completely and not leave any slack in the augur pin. If not tightened completely, it could lead to the auger pin getting sheared off eventually.
17 – Slide the auger assembly back into the grill and make sure the brass bushing is showing.
18 – Put the 7/16 bolts in the motor mount in by hand first to make sure everything is lined up properly before tightening with power tool.
19 – The auger motor will be loose and free floating which is the way it should be.
20 – Reattach the wires, the front panel and the controller back onto the grill.

